


You have no items in your shopping cart.
Introduction to the Best NVR Camera System
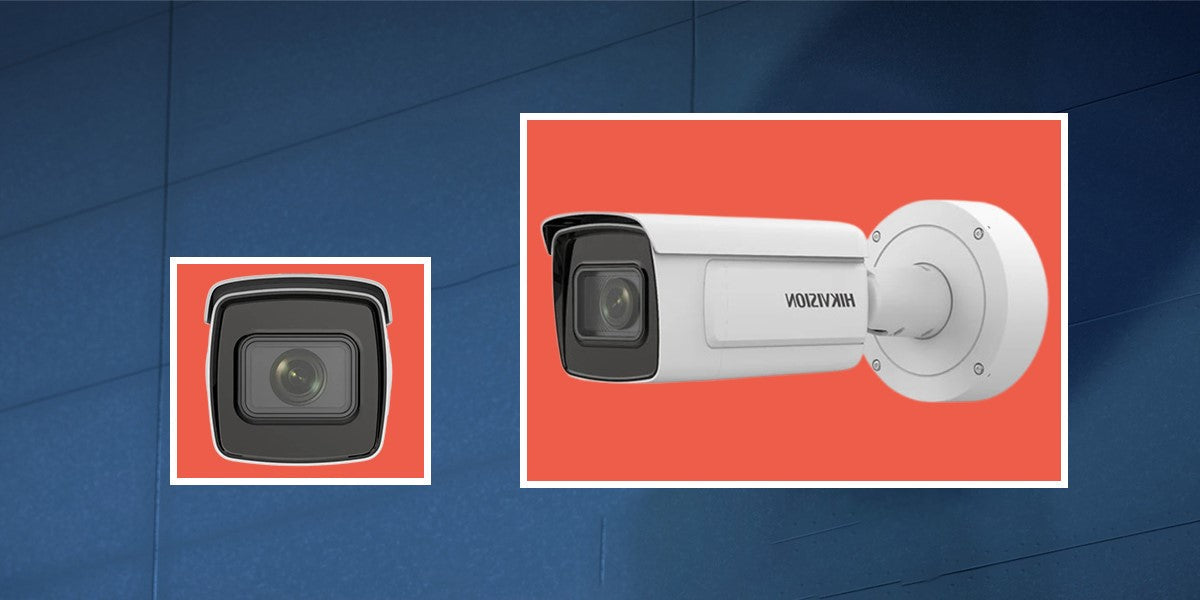
Installing the NVR Camera System can take your home or business security to the next level. It’s a modern solution that uses IP cameras and a network video recorder to deliver crisp, high-resolution video. Unlike older systems, this setup doesn’t rely on analog signals or outdated equipment.
IP cameras connect directly to the NVR through network cables, offering better image quality and real-time footage. The NVR handles the recording, storing, and viewing functions, all in one system. When set up correctly, it can offer remote access, easy playback, and smart monitoring.
The Best Home NVR Security Camera System is especially useful for homeowners who want to monitor their property while away. With mobile apps and cloud storage integration, checking live feeds from your phone has never been easier. Businesses benefit too, with around-the-clock monitoring and scalable configurations for any size property.
Choosing the Right System for Your Property
The two most common types of NVRs are PoE and non-PoE. Both support IP cameras but function a little differently.
PoE NVRs allow you to connect cameras using a single Ethernet cable for both power and video. This makes the installation cleaner and reduces the number of cables required. They are ideal for homeowners and small businesses that prefer a quick setup.
Non-PoE NVRs, on the other hand, need an external PoE switch or power adapters for each camera. These are better for larger properties that require flexible wiring or where cameras are placed far apart. Non-PoE units may also offer more advanced features like auto-discovery of devices on the network.
Compatibility is important. Look for ONVIF support to make sure your NVR and cameras work together smoothly. Also, check that your NVR supports the resolution of your IP cameras. If not, you could run into display or storage issues later on.
Custom solutions are also available. At Planet Security USA, we design systems that match your exact needs. Whether you're protecting a warehouse, office, or home, we ensure that your NVR setup is a perfect fit.
Step-by-Step Connection Guide
A basic setup involves a few main parts: cameras, an NVR, a router, and a monitor. Start by placing your NVR near a power source and your internet router. Leave space around the NVR for proper ventilation. Once you’ve gathered all the equipment, the connection process is straightforward.
For PoE systems, simply connect the IP cameras to the NVR’s PoE ports using Ethernet cables. These cables provide both power and data, so you don’t need extra power outlets for the cameras. Then connect the NVR to your monitor and router. Once powered on, the system will guide you through the initial setup.
Non-PoE systems need a PoE switch. Plug the cameras into the switch, and then connect the switch and NVR to the router. You’ll also connect the NVR to the monitor. Use the system interface to detect and configure the cameras once all hardware is connected.
Some models come with mobile app integration. For instance, with the eufy NVR system, users can access live feeds on their phones through a simple sync process. This helps you stay informed and in control from anywhere.
Make sure to test each camera after setup. Adjust their angles and make sure they cover the intended areas. The NVR Camera System is only as effective as its placement and settings.
Replacing Your NVR Hard Drive
Every camera system stores footage, and the hard drive is where that data lives. Sometimes, you may need to upgrade or replace your existing drive for better performance.
Start by turning off the NVR and unplugging all cables. Use a screwdriver to open the case. You’ll see the old drive inside, connected by two cables. Unplug these gently and unscrew the drive from the mounting plate.
Now take your new hard drive and align it with the same screw holes. Secure it in place, reconnect the cables, and close the case. Once powered back on, the system will detect the new drive. You’ll need to format it to make it ready for use.
Upgrading your hard drive ensures that you have enough space to store high-definition recordings from your cameras. If you have a large property or many cameras, this becomes even more important. A reliable storage setup is part of what makes the Best Home NVR Camera System effective.
The Bottom Line
A secure property starts with the right setup. The Best NVR Camera System combines high-quality visuals, easy installation, and remote access to give you peace of mind. Whether you're managing a small shop or keeping an eye on your front porch, having a reliable system matters.
At Planet Security USA, we specialize in creating tailored NVR camera solutions. With over 12 years of experience, our systems are trusted by over 30,000 customers across the US and Latin America. Our products come with strong warranties and lifetime technical support.
From fast shipping to expert support, we make the process smooth from start to finish. When you choose Planet Security USA, you're choosing performance, reliability, and ongoing service.
If you're ready to secure your property with the Best Home NVR Camera System, contact us today. We’re here to help you every step of the way.
FAQs
How to Configure NVR with an IP Camera?
Connect the NVR and camera to the same network. Use the NVR interface to add the camera manually or automatically. Make sure each device has a unique IP address and that the resolution settings match.
Can You Mix and Match IP Cameras with NVR?
Yes. Most modern NVRs support ONVIF-compliant cameras, which means you can use cameras from different brands as long as they are compatible.
Does NVR Support IP Cameras?
Yes. NVRs are designed to record and manage footage from IP cameras using a network connection. They offer better quality and more features than DVRs.
How to Install PoE IP CCTV Cameras with NVR Security System?
Connect each camera to the NVR using Ethernet cables. These cables provide both power and video. Then connect the NVR to a monitor and a router for internet access.
What If My NVR Doesn’t Detect a Camera?
Check the camera’s power and network connection. Make sure the IP address is within the correct range. You may also need to update the firmware or reset the camera before trying again.
Recent Posts


Tag Cloud


← Older Post Newer Post →
0 comments